Introduction
In this guide I will be explaining you how I installed the self-hosted version of Plausible, "a lightweight, simple, open source and privacy-friendly Google Analytics alternative".
The server
First of all I needed to get a server. I chose DigitalOcean because I’m very happy with the services they offer and their prices.
Want to immediately go get a droplet on DigitalOcean plus $100 in credit? Click here! This is my personal referral link and is only available for new accounts.
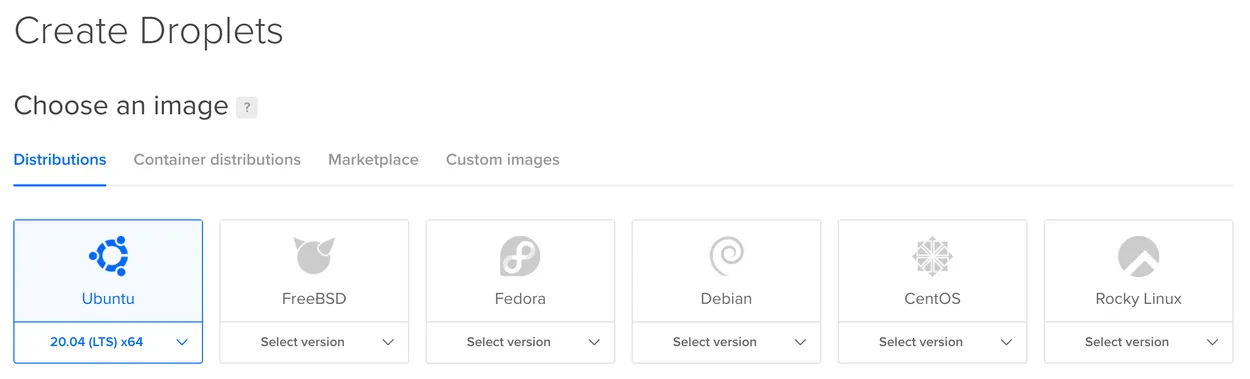
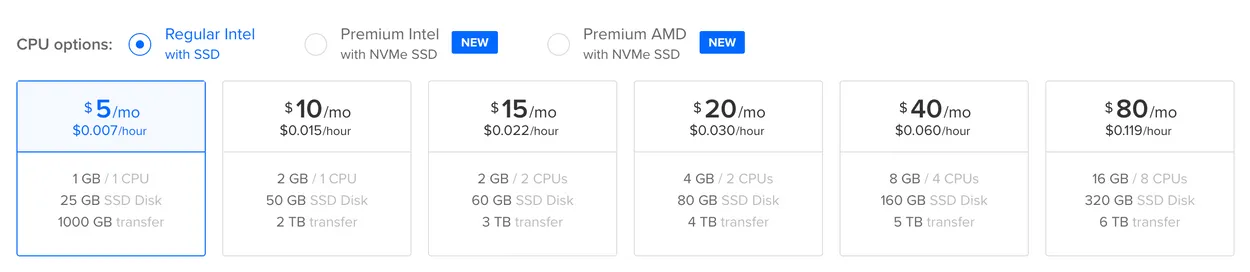
After logging in I clicked on Create > Droplet. I then went for the most simple droplet they offered, which had the following specifications:
Distribution: Ubuntu 20.04 (LTS) x64
Plan: Basic

CPU: Cheapest
Setting up the environment
Now the droplet was up and running it was time to set up the environment. Plausible requires the following:
I installed both using their official documentation, but while verifying docker-compose I noticed long response times.
After digging into this I found out that it was caused by the system waiting for enough entropy1. I fixed this by installing haveged2.
Installing Plausible
It was now time to install Plausible! First I created a new directory inside my home directory that was going to hold everything related to Docker:
mkdir docker
cd docker
Then I cloned the Plausible project into its own directory:
git clone https://github.com/plausible/hosting plausible
cd plausible
Next I generated a key that I needed to add to the environment file:
openssl rand -base64 64 | tr -d '\n' ; echo
I copied the key and pasted it into the .env file. I also changed the other values:
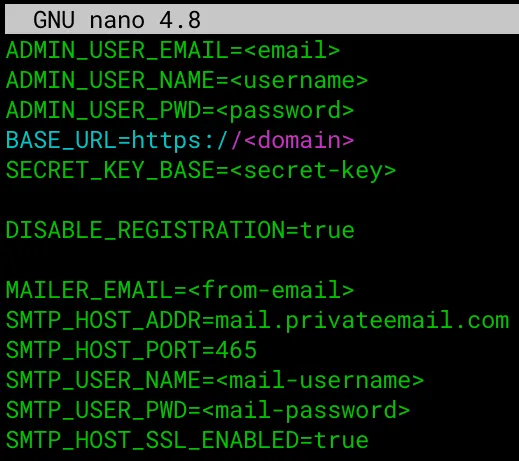
As you can see I also added some other values. Let me give a brief explanation of each of them:
ADMIN_USER_EMAIL-> The admin user email address.ADMIN_USER_NAME-> The admin username.ADMIN_USER_PWD-> The admin password.BASE_URL-> The domain you want Plausible to run on. For example, mine runs on https://analytics.domain.com.SECRET_BASE_KEY-> The key used for secrets and passwords in Plausible.DISABLE_REGISTRATION-> Set to true to disable registration.MAILER_EMAIL-> The FROM email address used for the email notifications.SMTP_HOST_ADDR-> The host of your email service.SMTP_HOST_PORT-> The port of your email service.SMTP_HOST_NAME-> The username of your email service.SMTP_HOST_PWD-> The password of your email service.SMTP_HOST_SSL_ENABLED-> If SSL should be enabled for your email service.
For Plausible everything was now set up, but I also needed to set up a reverse proxy.
Reverse proxy
I chose Traefik because I had used Traefik once before and I really liked the ease of set up and use, plus I wanted to get to know it better.
Docker-compose
I first created a directory inside the docker directory to hold the Traefik files:
cd ~/docker
mkdir traefik
cd traefik
I then created a docker-compose file to hold the configuration for the Traefik docker container:
nano docker-compose.yml
The configuration was as follows:
version: '3'

services:
  traefik:
    image: traefik:v2.3
    container_name: traefik
    ports:
      - "80:80"
      - "443:443"
    networks:
      - web
    volumes:
      - "/var/run/docker.sock:/var/run/docker.sock:ro"
      - ./traefik.toml:/traefik.toml
      - ./traefik_dynamic.toml:/traefik_dynamic.toml
      - ./acme.json:/acme.json
    restart: always

networks:
  web:
Important to note here is the networks configuration. Because Traefik and Plausible are not configured together, they will
operate in different networks if not configured correctly. But by defining the network here and connecting Plausible to
this network (read along to find out how), all those services will be able to see Plausible, and the other way around.
Another important part to mention is volumes. As you can see, the container relies on the Docker socket, but also on 3 different files:
traefik.toml-> holds the startup configuration.traefik_dynamic.toml-> holds the dynamic routing configuration.acme.json-> holds credentials for the HTTPS ACME verification.
traefik.toml
[entryPoints]
  [entryPoints.web]
    address = ":80"
    [entryPoints.web.http.redirections.entryPoint]
      to = "websecure"
      scheme = "https"

  [entryPoints.websecure]
    address = ":443"

[api]
  dashboard = true

[certificatesResolvers.lets-encrypt.acme]
  email = "<email>"
  storage = "acme.json"
  [certificatesResolvers.lets-encrypt.acme.tlsChallenge]

[providers.docker]
  watch = true
  network = "web"

[providers.file]
  filename = "traefik_dynamic.toml"
traefik_dynamic.toml
[http.middlewares.simpleAuth.basicAuth]
  users = [
    "<username>:<password>"
  ]

[http.routers.api]
  rule = "Host(`<traefik-host>`)"
  entrypoints = ["websecure"]
  middlewares = ["simpleAuth"]
  service = "api@internal"
  [http.routers.api.tls]
  certResolver = "lets-encrypt"
acme.json
This file only had to be created but not filled, because that would be done during Traefik’s automatic HTTPS certificate generation:
touch acme.json
Connecting Plausible to Traefik
To connect Plausible to Traefik a few things had to be done. First and most important, I had to set up the network:
networks:
  web:
+    external:
+      name: traefik_web
Now all the services could communicate with Traefik, but some of them I didn’t want to route through Traefik, since I only wanted to have them accessible locally. To accomplish that I added the following label to each of those services:
- "traefik.enable=false"
My services were now almost ready to run, but there was one last thing I wanted: HTTPS. For that I had to add the following labels to the plausible service:
- “traefik.http.routers.plausible.tls=true”
- “traefik.http.routers.plausible.tls.certresolver=lets-encrypt”
Setting up DNS
As you could see in my configurations I set up hosts in the Traefik labels:
rule = "Host(`<traefik-host>`)"
- "traefik.http.routers.plausible.rule=Host(`<plausible-host>`)"
To make this work I had to go to the DNS settings of my hosting provider (Namecheap) and create A-records for each subdomain:
A   <analytics-subdomain>   <Droplet IP address>        Automatic
A   <traefik-subdomain>     <Droplet IP address>        Automatic
Starting services
Now everything was set up and ready to run! First I started Traefik by going to its folder (~/docker/traefik) and running the following command:
docker-compose up -d
When checking its logs to see if anything went wrong (docker-compose logs -f), I noticed errors related to access rights
for acme.json (I was unable to find the exact errors again, sorry).
This was easily fixable by running chmod on acme.json:
chmod 644 acme.json
Next up was Plausible. Same as with Traefik I went to its folder (~/docker/plausible) and ran the following command:
docker-compose up -d
I also checked the logs here, but this time no errors! It was now time to visit their urls and see if everything was actually working.
Visiting Traefik
I browsed to <traefik-domain> and I was greeted by an authentication popup. Here I had to fill in the username and password
that I configured in traefik_dynamic.toml. After a successful login I arrived at Traefik’s homepage. I will not get into
Traefik, because that’s out of this guide’s scope, but the important part is this:

Clicking on "Explore" took me to the details, where I could see that all routers were set up correctly:

Setting up first site
Now everything was set up properly it was time for the last step: adding the first website! This was very easy, as Plausible guides you through it with very good explanations. But to illustrate the process, here are the steps I took:
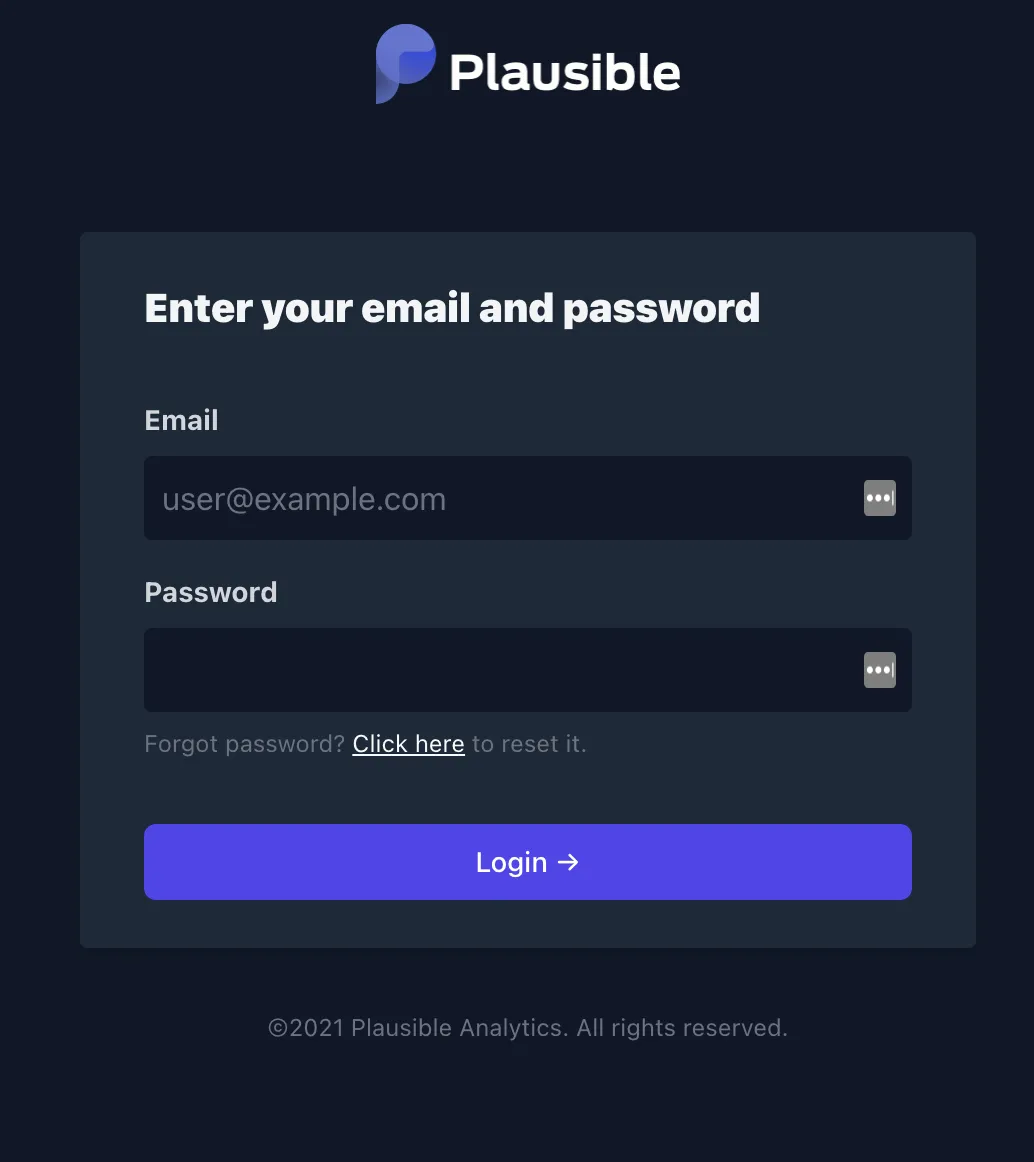
Step 1: Log in
First step was logging in:
After logging in I was greeted by the homepage:
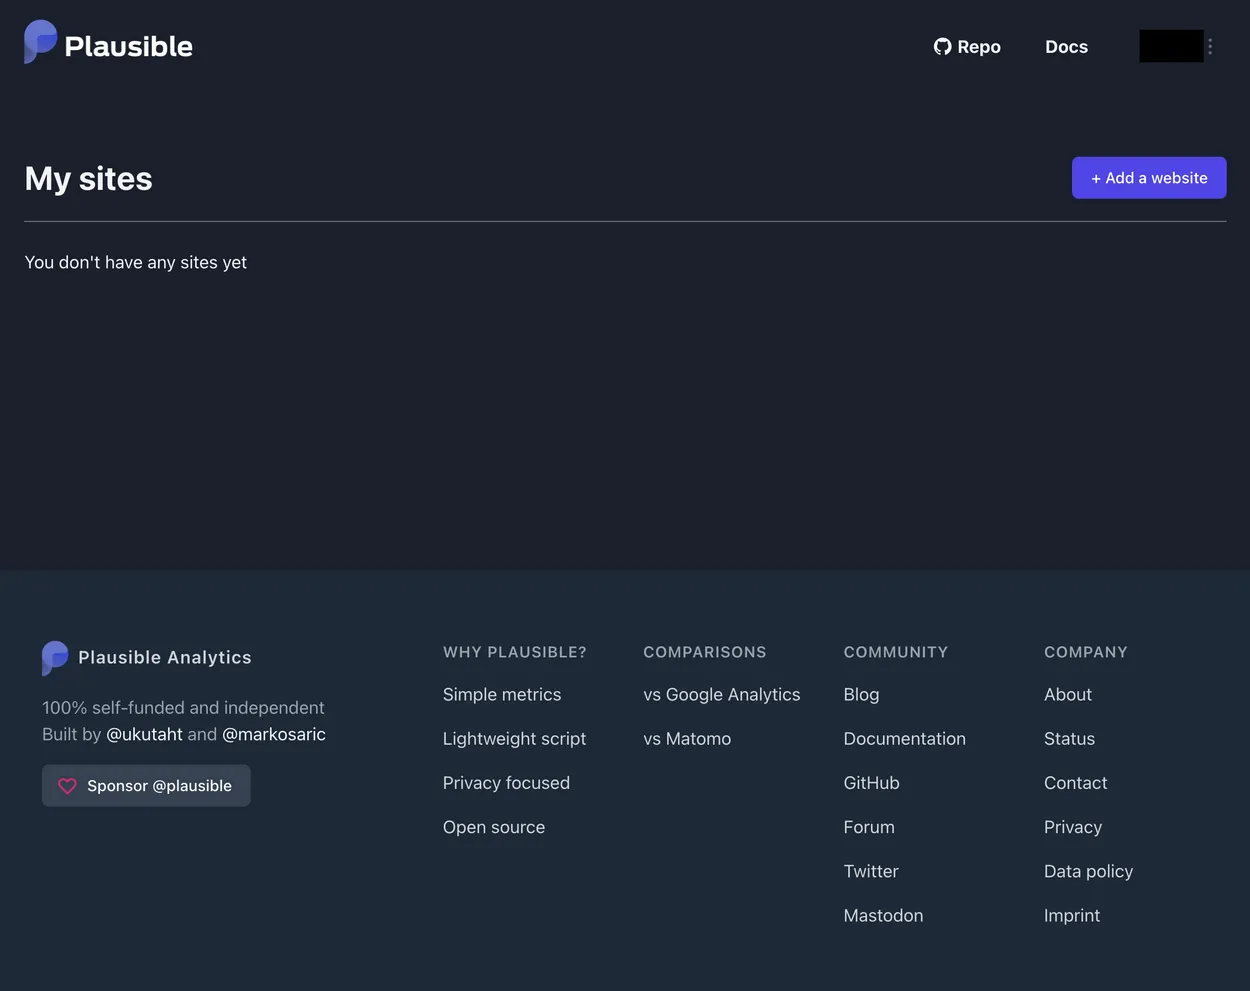
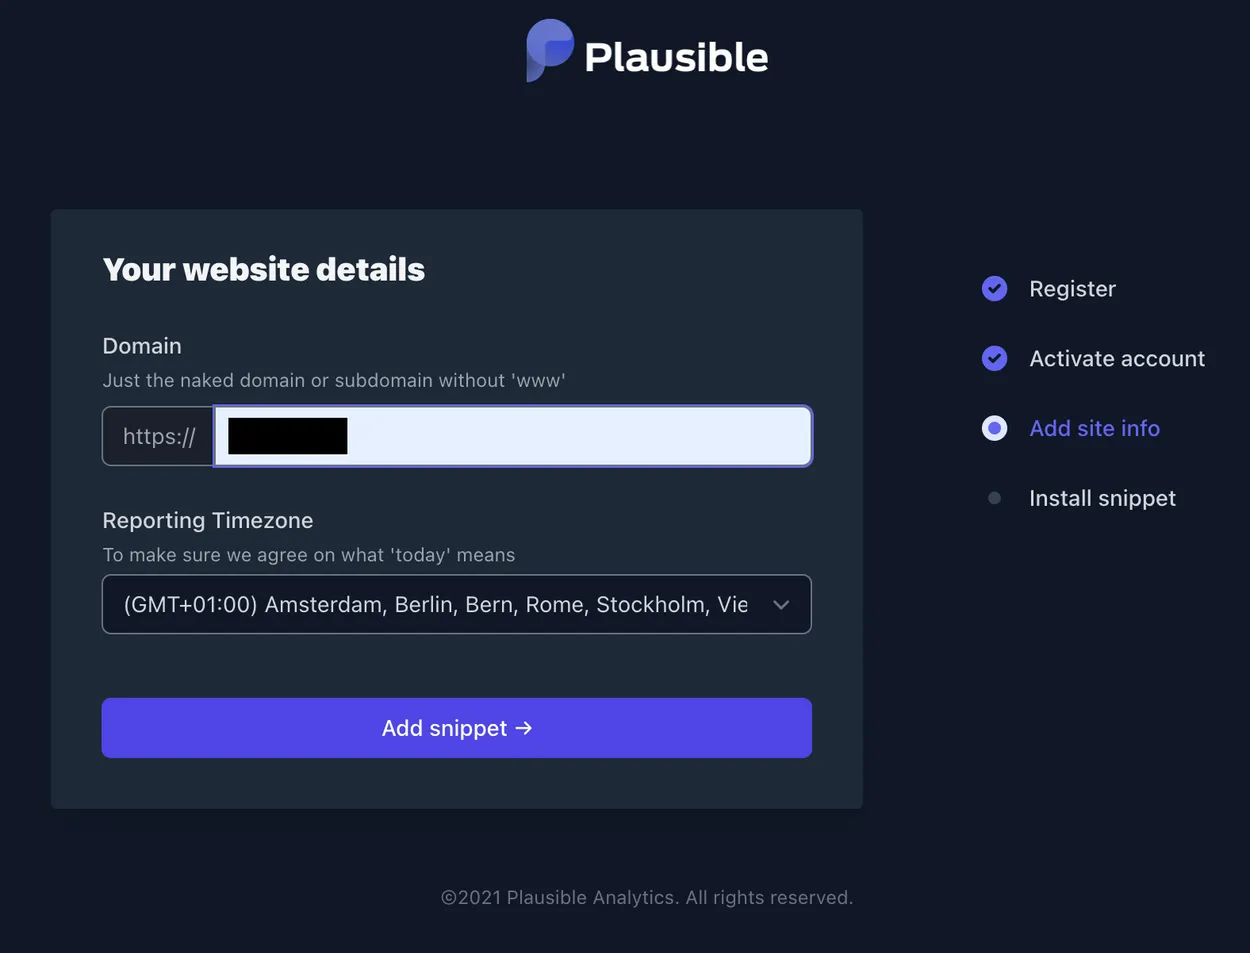
Step 2: Add a website
Next I had to add a website, which only required a little bit of information:
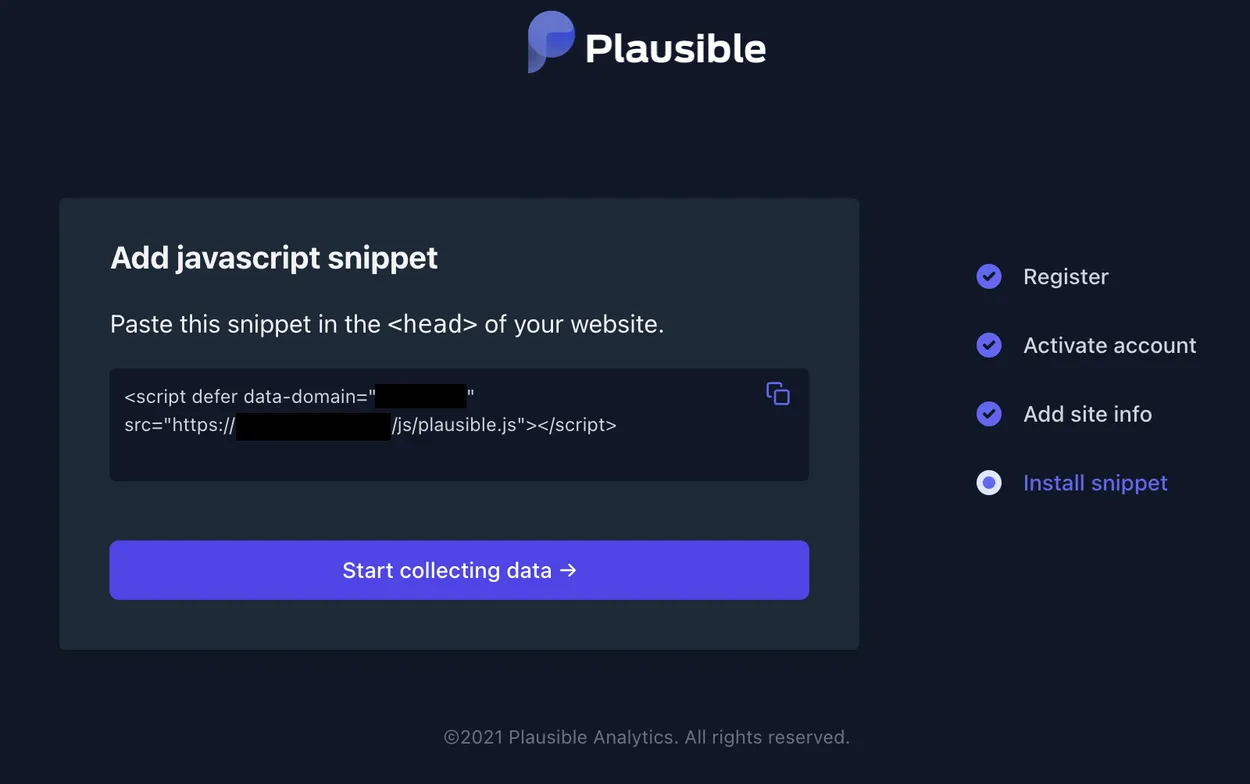
Step 3: Copy JS snippet
Now the website was set up I had to copy the JS snippet to the website I wanted to gather the analytics for:
Step 4: Wait for first data
After the script was set up I had to generate some data, so I visited my tracked website while I waited for the data to come in:

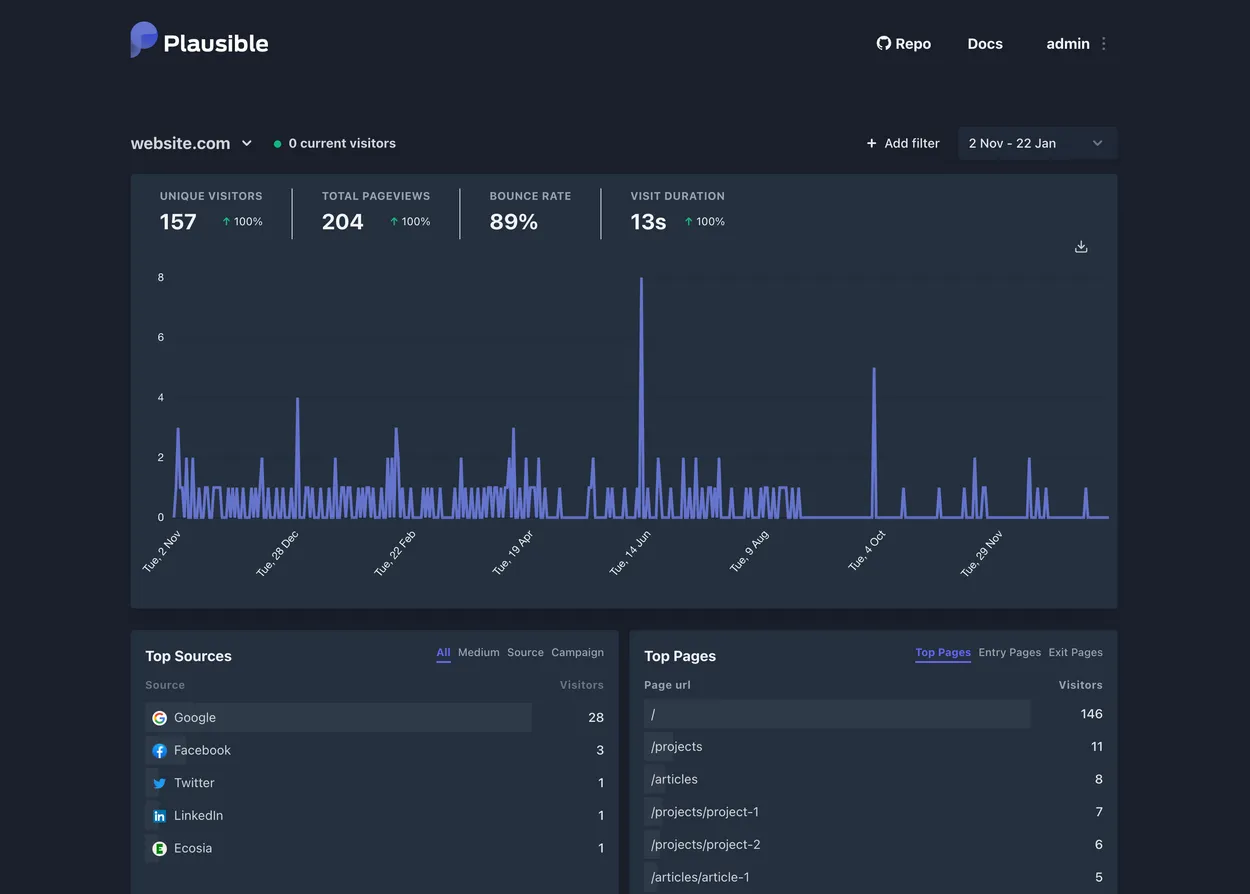
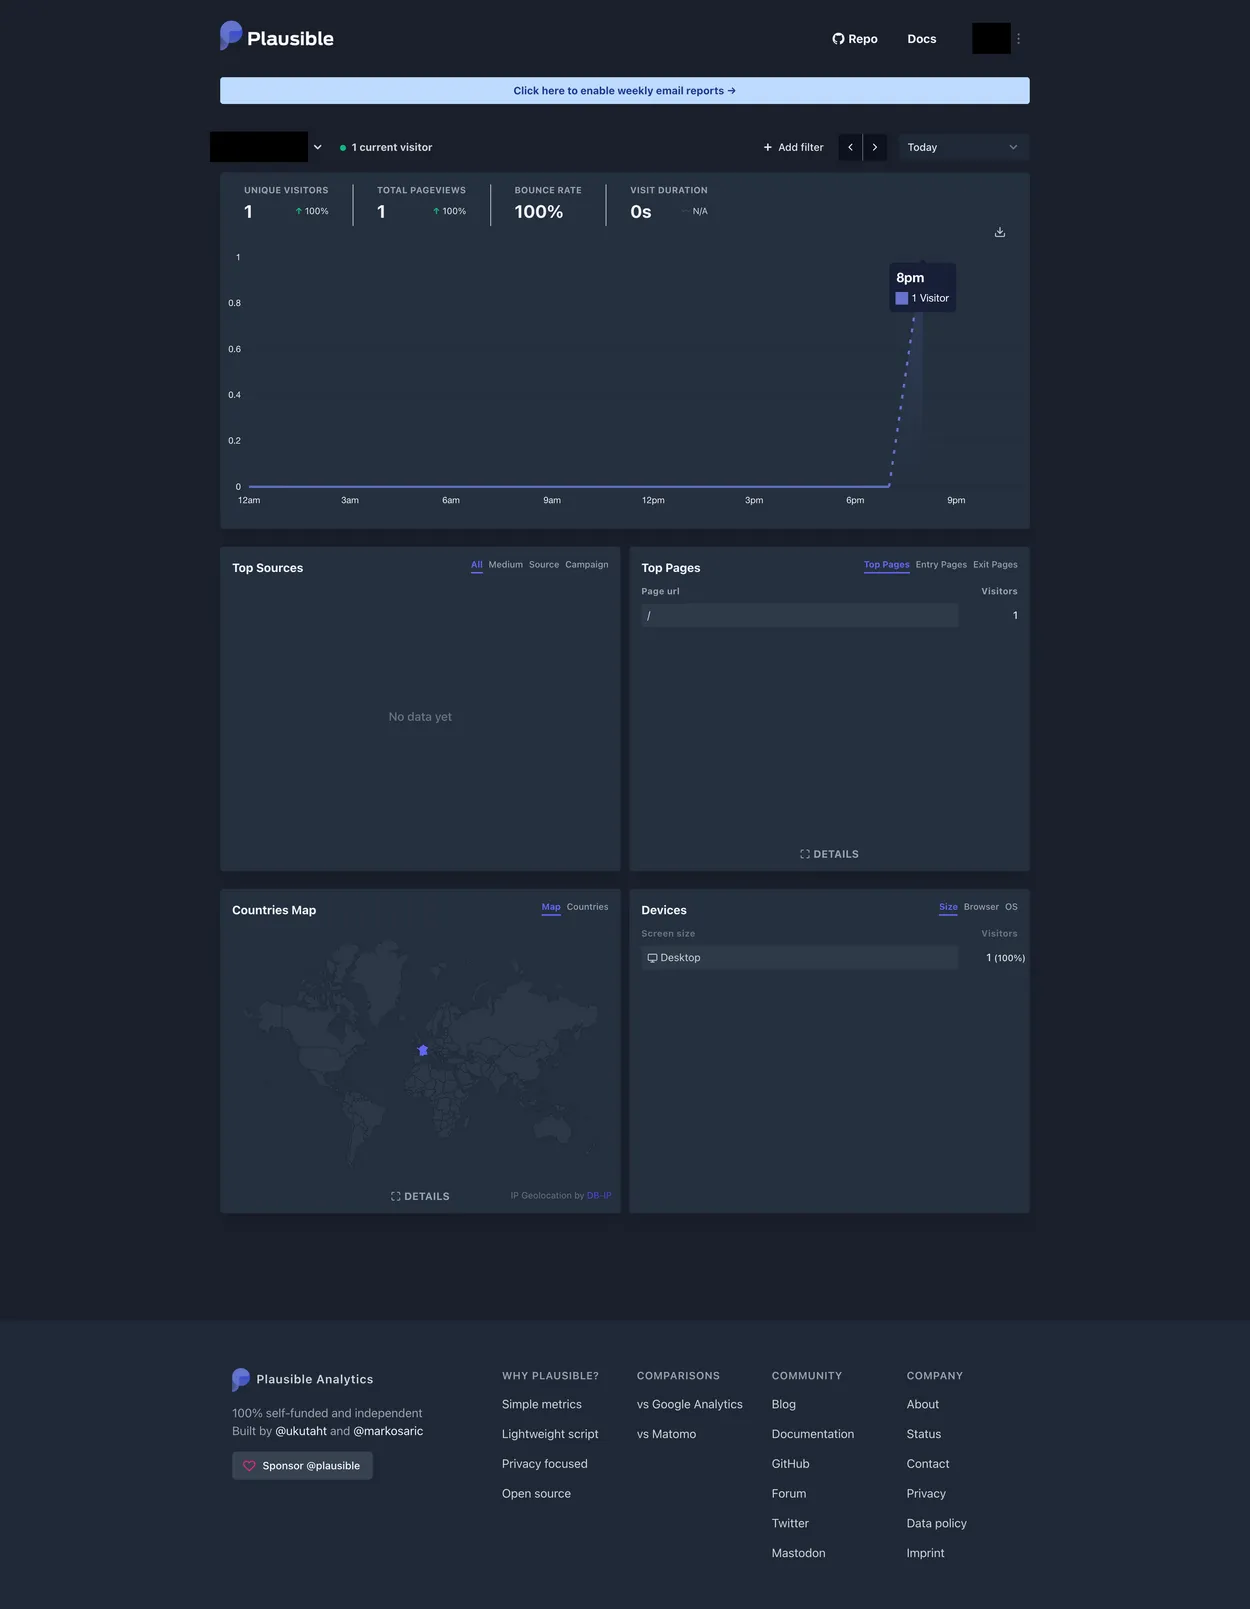
Step 5: Reload page and see results
Then, after reloading, the data was there:
Final words
It was very easy and straightforward to set up Plausible. It's lightweight, privacy-focused and very easy to set up and use. I am very happy with my choice and still use Plausible to this day!